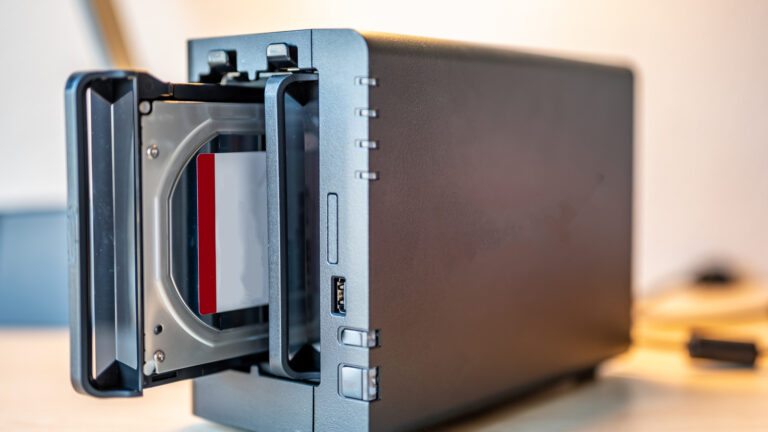
Your old hard drives may still have plenty of life left in them, especially when put to work in a RAID array. Instead of letting aging storage collect dust, creators can combine multiple drives into a single, more reliable system. This approach boosts performance, adds redundancy, and maximizes the utility of hardware you already own—making it a smart, budget-friendly move for content creators managing large media libraries.
Setting up a RAID array with older drives doesn’t require cutting-edge gear, but it does demand careful planning. Depending on your goals—speed, safety, or both—you can choose configurations like RAID 0 for performance, RAID 1 for mirroring, or RAID 5 for a balance of both. The key is ensuring drives are similar in size and health to avoid bottlenecks or compatibility issues during setup.
For creators working with high-resolution video, photo archives, or large project files, a DIY RAID array offers a practical way to expand storage without investing in new NAS enclosures or cloud subscriptions. It also provides a layer of protection against drive failure, especially when using redundant configurations. Just remember: RAID is not a backup substitute, but it can significantly improve data resilience when used correctly.
Before you begin, back up any important data—combining drives will erase existing content. Use tools built into your operating system or trusted third-party software to configure the array safely. Label your drives, monitor their health regularly, and consider adding a UPS to protect against power-related failures.
By breathing new life into old hard drives through RAID, creators can build scalable, cost-efficient storage solutions tailored to their workflow. It’s a sustainable tech hack that turns overlooked hardware into a valuable asset—proof that with a little ingenuity, yesterday’s storage can still power today’s creative projects.
Join the conversation
Load Facebook comments to read and reply using your Facebook account.